Installation
Arduino IDE installation:
To program the NodeMCU microcontroller you will need to install the ArduinoIDE. Please download the latest version with the button below. Choose the correct version for your system but DO NOT download the windows app version! Install the IDE using the correct installer for your system.
Arduino IDE (Latest) (External Link)
Arduino IDE (1.8.15)(Win/Lin/Mac Mirror)
Now please follow the steps below to add the NodeMCU boards to the Arduino IDE:
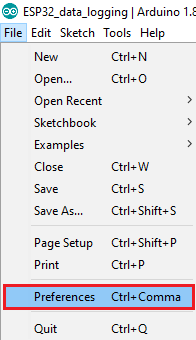
- In your Arduino IDE, go to File > Preferences.
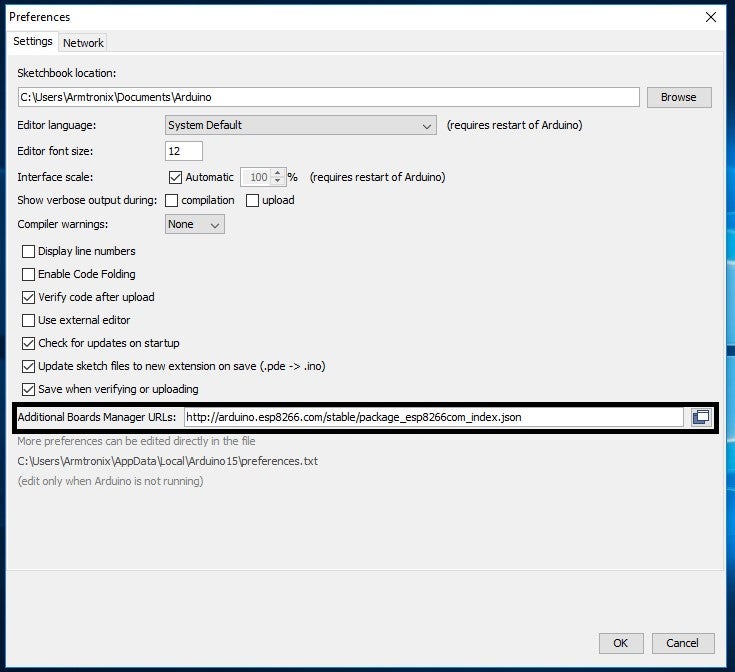
- Enter https://arduino.esp8266.com/stable/package_esp8266com_index.json into the “Additional Board Manager URLs” field as shown in the figure below. Then, click the “OK” button. If you have additional boards already installed, separate the URLs with a comma.
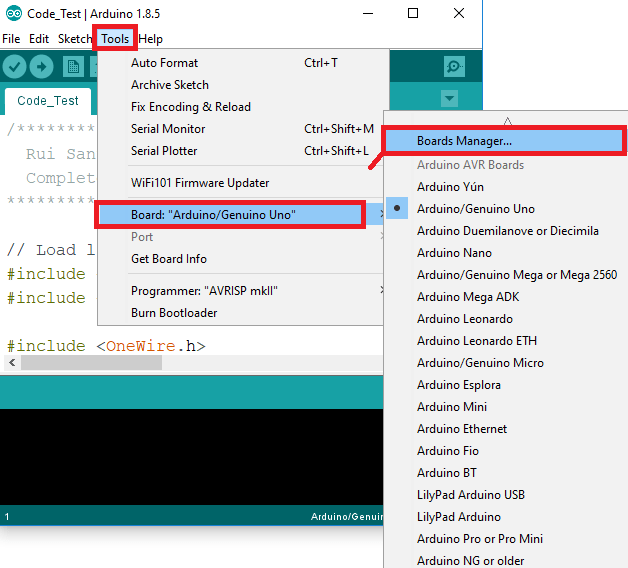
- Open the Boards Manager. Go to Tools > Board > Boards Manager. Then search for ESP8266 and press install button for the “ESP8266 by ESP8266 Community”.

You have now installed the ESP8266 boards, incuding your NodeMCU board! You can now start your coding your very first project on this versatile microcontroller.