Overview
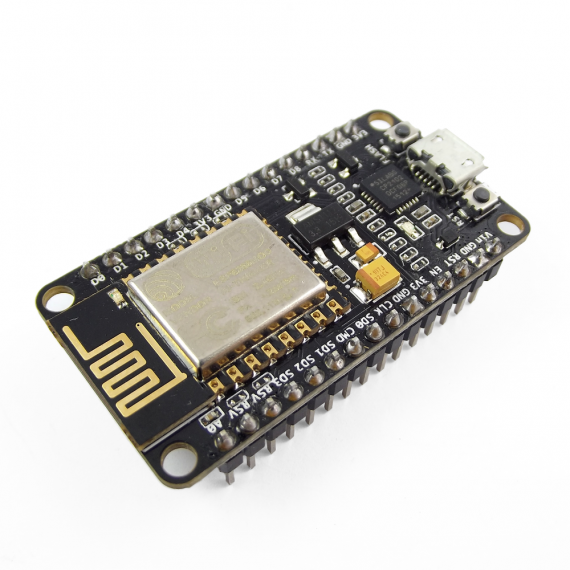
The NodeMCU Microcontroller is a single core, 80MHz microcontroller based on the ESP8266 with integrated WiFi. You can easily program it using the Arduino IDE and its many libraries. Another popular option is running MicroPython on the microcontroller, though this is an advanced usecase.
Programming the microcontroller
Programming the microcontroller is very easy. After writing and compiling your code in the Arduino IDE, you can connect the NodeMCU board to your computer with the supplied USB cable. You may then select the board in the board settings (Select NodeMCU V1), as well as the correct COM port. In contrast to the ESP32 microcontroller, the ESP8266 does not need to be put into programming mode, but one can upload a sketch at any given time. Once ready to upload, upload your code to the board by clicking the arrow button in the IDE. Once programming is done, the MCU resets automatically and starts running your code.
Using the microcontroller
The microcontroller has a lot of I/O pins that can be used for all sorts of things. It features UART, ISP, I2C, ADC and DAC pins. The image below tells you which pin can be used for what.
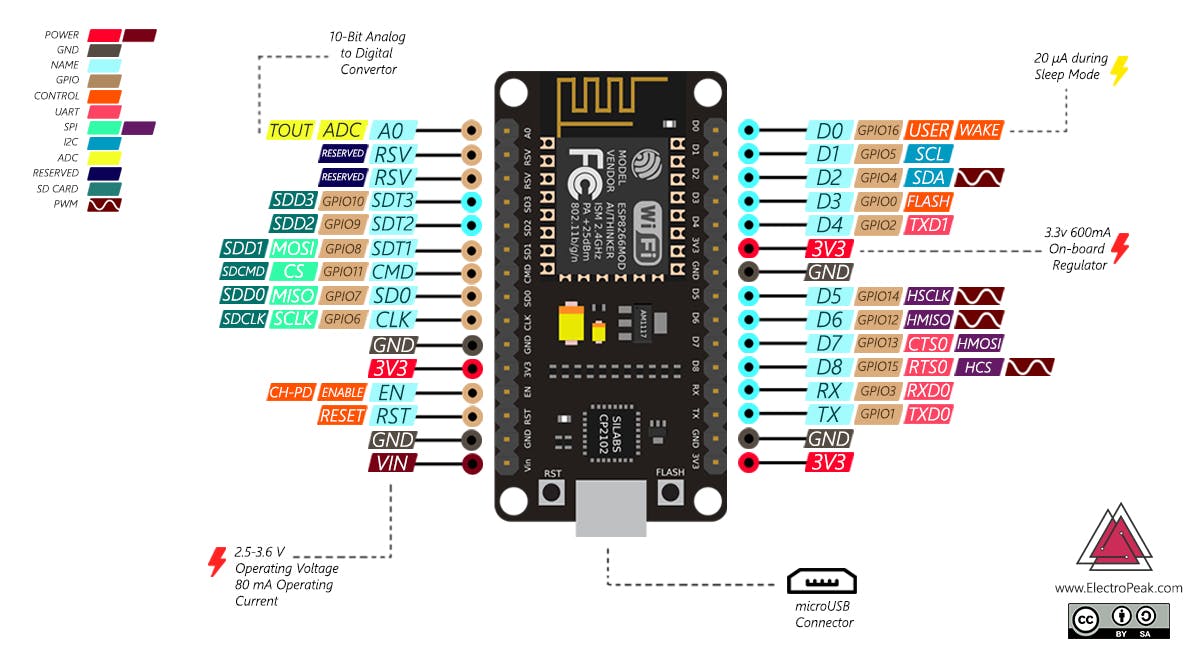
Please note that the microcontroller works on 3.3V. The 5V from the USB connection is converted to 3.3V with the onboard LDO. You may provide 2.6-3.6V to the Vin pin of the microcontroller.
The I/O pins of the NodeMCU are also 3.3V, and are NOT 5V tolerant. You WILL damage the device if 5V is connected directly to any of the NodeMCU pins other than the USB port.
DO NOT use the Vin pin and usb connection simultaneously, as this may damage your equipment.